Change your email address
- Click your profile icon in the top-left corner.

- Click Settings (gear icon).
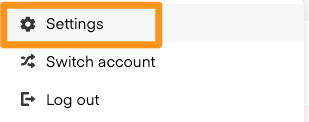
- Click Edit Email.

- Enter your preferred email address and password.

- Click Save.


Update your password
- Click your profile icon in the top-left corner.

- Click Settings (gear icon).

- Click Edit password.

- Enter your new password into the New password and Confirm new password fields. Enter your current password in the Verify current password field.
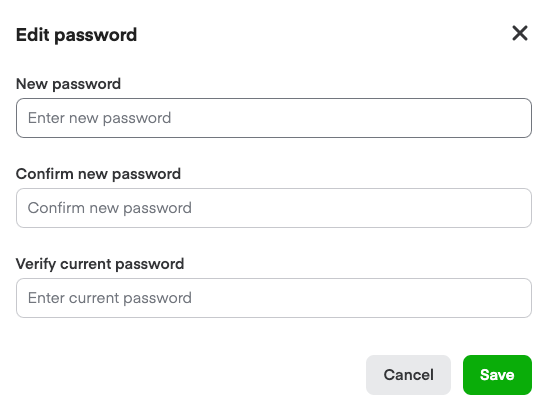
- Click Save.


Manage account users
Account admins can add, remove, and change permissions for users on your account in Ads Manager.
NOTE: You can have 5 admin users on your account.
To add a user or change permission—
- Click your profile icon in the top-left corner.
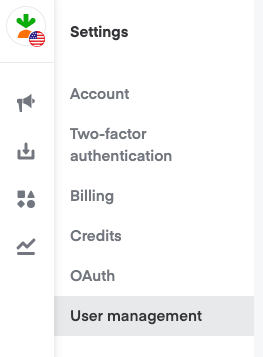
- Click Settings (gear icon).

- Click User management.
- Add the user’s email and select a User type—
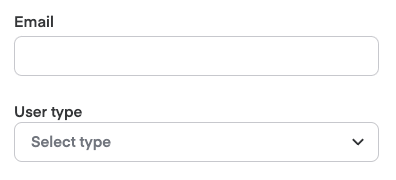
Advertiser user: A person who works in-house for the brand.
Agency user: A person who represents the brand via a third-party agency.


For advertiser users—
- Select Advertiser user as the User type.

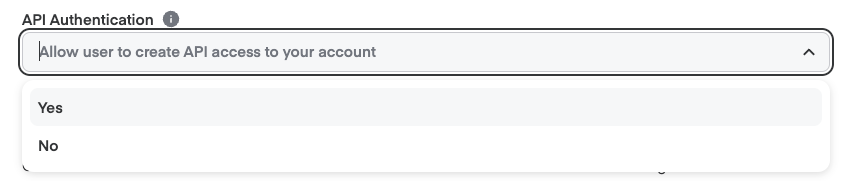
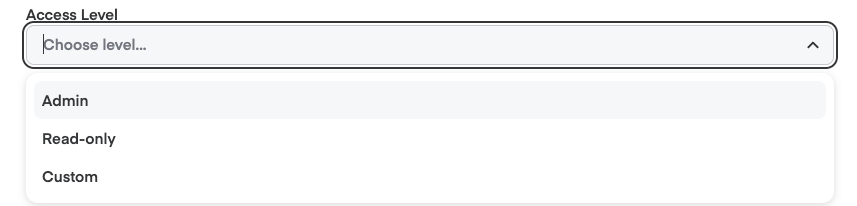
- Assign an Access Level. Choose Custom to create your own or add API capabilities.

Add API Authentication if the user needs to access campaigns and data with the API.
For reporting-only access, assign Read access for Customer Insights Reporting.
For campaign management, assign Read access for Customer Insights Reporting and Edit access for Campaign Management.
Select User role(s) from the list with either None, Read, or Edit access. You must select at least one role for each level of access. Each user role can do the below, depending on the level of access you give them—
User Management: Provides the ability for external users to invite other users onto their account.
Sell Sheets: Can view/manage sell sheets.
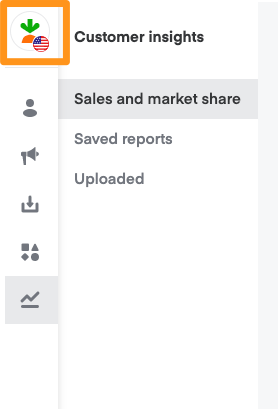
Customer Insights Reporting: Allows users to view and manage insights reports.
Campaign Management: Allows the user to view or manage all campaign types.
Product Library: Can only utilize the Product Library Manager to update content for UPCs (for partners who don't use a CSP).
Payment Settings: Allows users to view/edit payment settings and invoices at the account level.
Pages: Can view/manage Pages.

Click Save.


The new user will get an email invitation. They need to follow the instructions in the email to gain access to the account.
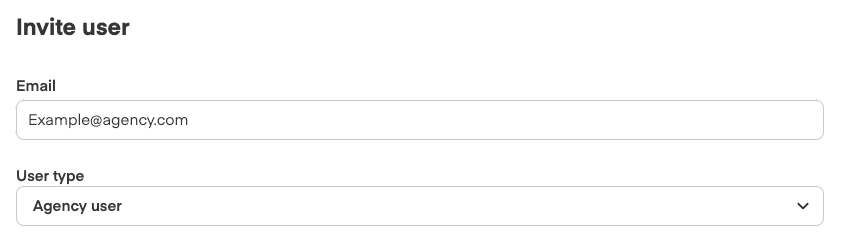
For agency users—
These users don’t work directly for the brand, so you need to go through additional steps to ensure they have permission.
Select Agency user as the User type.
- Assign an Access Level. Choose Custom to create your own.
- Add API Authentication if the user needs to access campaigns and data with the API.
- For reporting-only access, assign Read access for Customer Insights Reporting.
- For campaign management, assign Read access for Customer Insights Reporting and Edit access for Campaign Management.

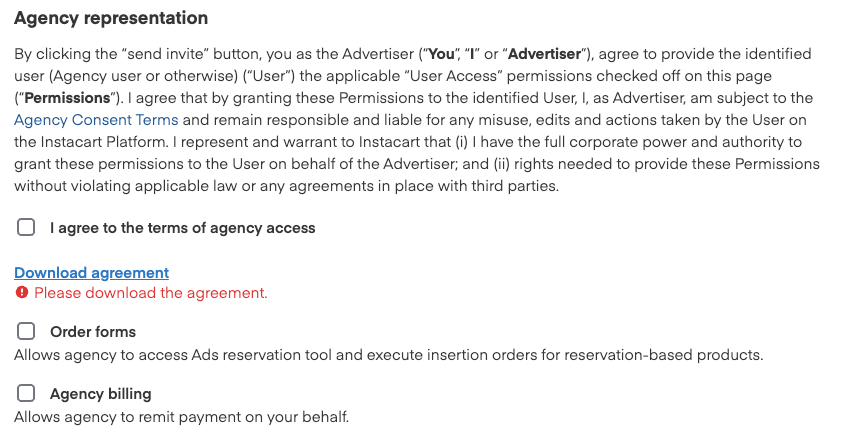
- Once you select a role, check the corresponding box under Agency Admin Access to grant permission. Note, the user won’t get access unless you check the boxes that apply.
- Download and review the agreement and check the box to agree to the Agency Consent Terms. Select the corresponding Agency representation boxes based on the level of user permissions you’re granting.
- Order forms: Allows agency to access Ads reservation tool and insertion orders for reservation-based products.
- Select Agency Billing if the Payment Settings role is selected for the agency user.
- Click Save.


The new user gets an email invitation. They need to follow the instructions in the email to gain access to the account—
| Email invitation |  |
| Email confirmation |  |
To remove a user—
- Click your profile icon in the top-left corner.

- Click Settings (gear icon).

- Click User management.

- Click the name of the user that you want to remove.
- Click Revoke invite next to the user's name. The user immediately loses access to the account.


Manage API and OAuth applications
Click your profile icon in the top-left corner.

Click Settings (gear icon).

Click OAuth.


Click Delete next to the OAuth or API application you want to remove.